I love cards that move especially this slider card using the So Hoppy Sale-A-Bration stamp set! I have created a tutorial for sale on how to make this card. And I did a FB Live on this card and two wiper cards.
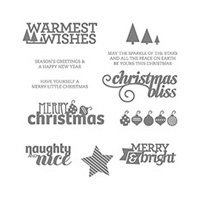
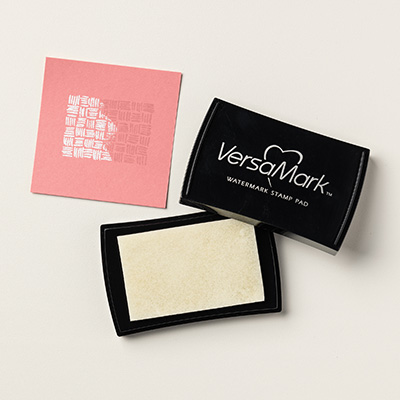
Here are the supplies I used to create this project! Place your order online using hostess codeP3CSAGQ2 and you'll receive a free gift in the mail from me! (Make sure that you do not have "no contact" selected from previous online orders or I will not be able to send your gift).
Learn how to create this Double-Slider Card using the Signs of Santa stamp set in my video tutorial below!
Directions:
Start with a 5-1/2" x 8-1/2" piece of card stock and score at 1/2", 3-1/4" and 6"
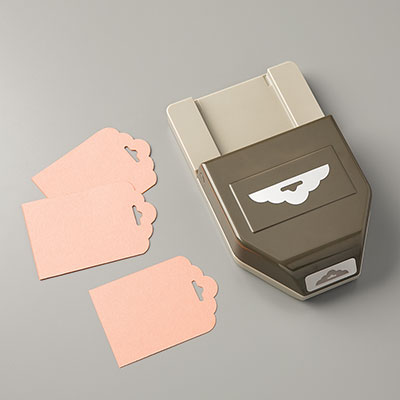
Use Everyday Label Punch to punch partway into the last panel top and bottom. Use the Pretty Label Punch to punch partway into the top of the other two panels.
Cut a slice of a cello bag into a 1-1/2” x 10” piece and wrap around the last panel and tape in place.
Stamp the images and color with the blends.
Align the top piece with the top of the card and place adhesive in the middle of the bottom of the back to attach it to the cello piece.
Align the bottom piece with the bottom of the card and place the adhesive in the middle of the top of the front to attach it to the cello piece.
Close the card and test to make sure the two pieces slide then use adhesive to seal the card.
Wrap ribbon around the card and attach front pieces with dimensionals.
Enjoy creating this fun card! (Sorry that it is upside down and reversed. I just learned how to change that on my next FB Live!)
Click on the pictures below to order the supplies used to create this card! Use hostess code WJ6RZSKUand you'll receive a free gift in the mail from me!
It's all about slider cards this month at my stamp clubs! I got a fun slider card at a swap and there was no name on it! Ack!! So I measured and figured out how it works and created my very own!
Here is how it slides!
Here is how I created the card: Here are the supplies I used to create this card: